DSAR - Act Configuration
DSAR - Act/ Regions Configuration
DSAR Configuration provides each configuration in a separate sub tab under the Privacy Portal Configuration tab. Every domain that you configure requires that you add some regions/acts for it to function. You can either define an Act or choose from the pre-defined acts and update them based on requirement.
When mapping the act to a domain, you can either choose any pre-defined Acts or the newly configured one from the Acts drop-down menu on the Mappings tab.
Configuring a new Act
For configuring a new Act for a domain,
Log in to the Data Governance tool.
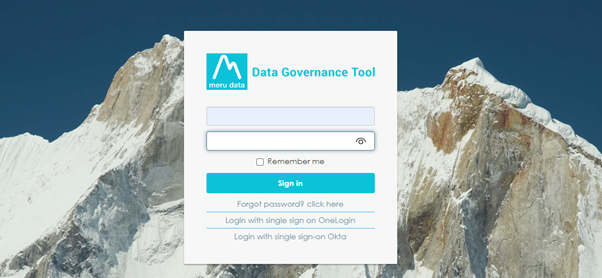
Once logged in, the Data Governance Tool displays the Main Screen.
Navigate to the DSA Request module on the hamburger menu.
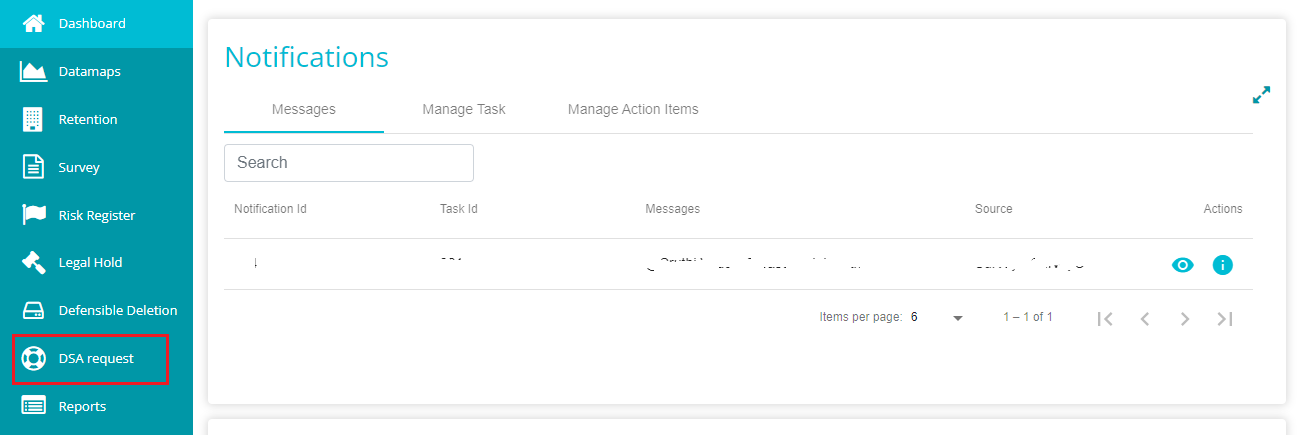
Toggle the 'View Dashboard' button to 'View Configuration' to see the DSAR configurations.

The selection takes you to the DSAR Configuration screen displaying the Mappings, Domains, Act, and other options related to tenant configuration.
Navigate to the 'Act' tab by clicking on it.
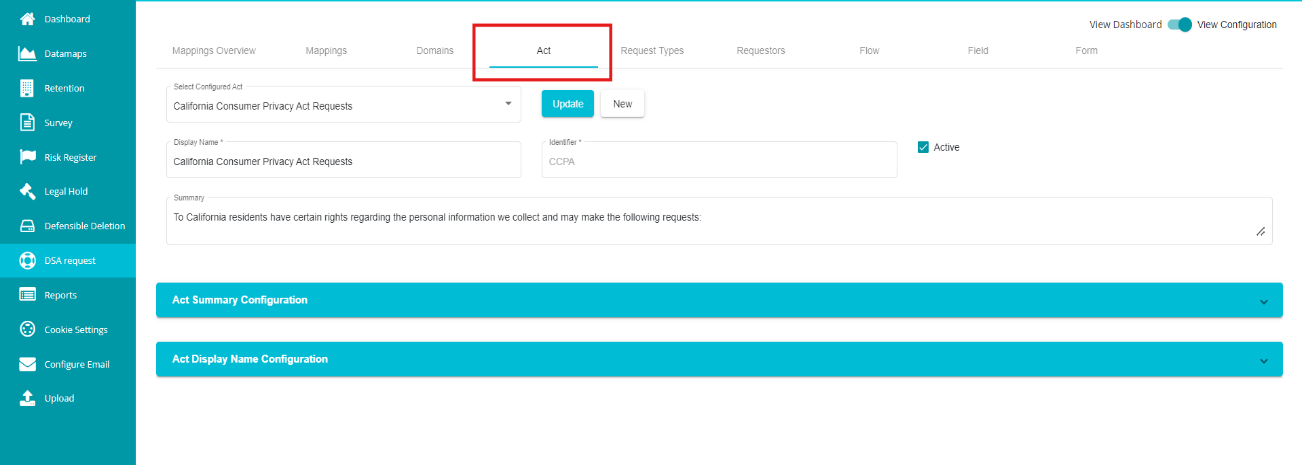
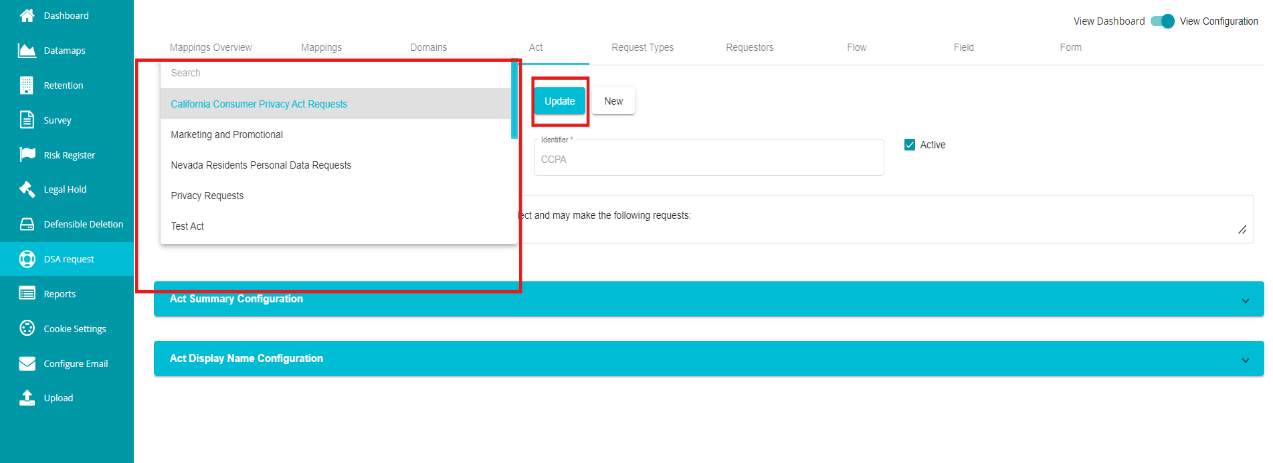
Note: Act/ Region screen lets you pick from the pre-existing regions that are previously configured or define a new one. In case you want to choose from the existing regions,
Click on the 'Select Configured Act' dialog box.
Select any of the pre-defined regions from the drop-down menu.
Click 'Update' to make the changes.
You can now see the Act being displayed on the Tenant's Welcome Screen.
If you want to configure a new region,
Under the 'Act' tab, click the 'New' button present next to the 'Select Configured Act' dialog box.
Type the name in the 'Display Name' dialog box.
Enter the 'Identifier'.
Display Name - the name used for display purposes, through which you can identify the act. Display name can be defined however you like, irrespective of the letters' case. You can also use special characters if needed.
Identifier - this is used to identify the act in the backend. An identifier cannot be in capital letters and cannot be a duplicate (shouldn't match with any other act's identifier). Also, you cannot use special characters, symbols, etc.
Note: The 'Summary' tab present under these options is to display the description of the Act on the Welcome Screen. You can add text here or enter NA otherwise.

- Add the required information in the 'Summary' tab.
Now, you need to define the 'Act Summary Configuration' and 'Act Display Name Configuration' for the domain. Usually, a single Act (say GDPR) can be used to configure multiple domains that you create. These configurations can be used if you want to differentiate the Act's display names and summaries for each configured domain.
To configure the Act's Summary,
Click the
on the 'Act Summary Configuration' tab.
Click the
button on the screen.
The following screen is displayed where the Act Summary for a domain can be configured.
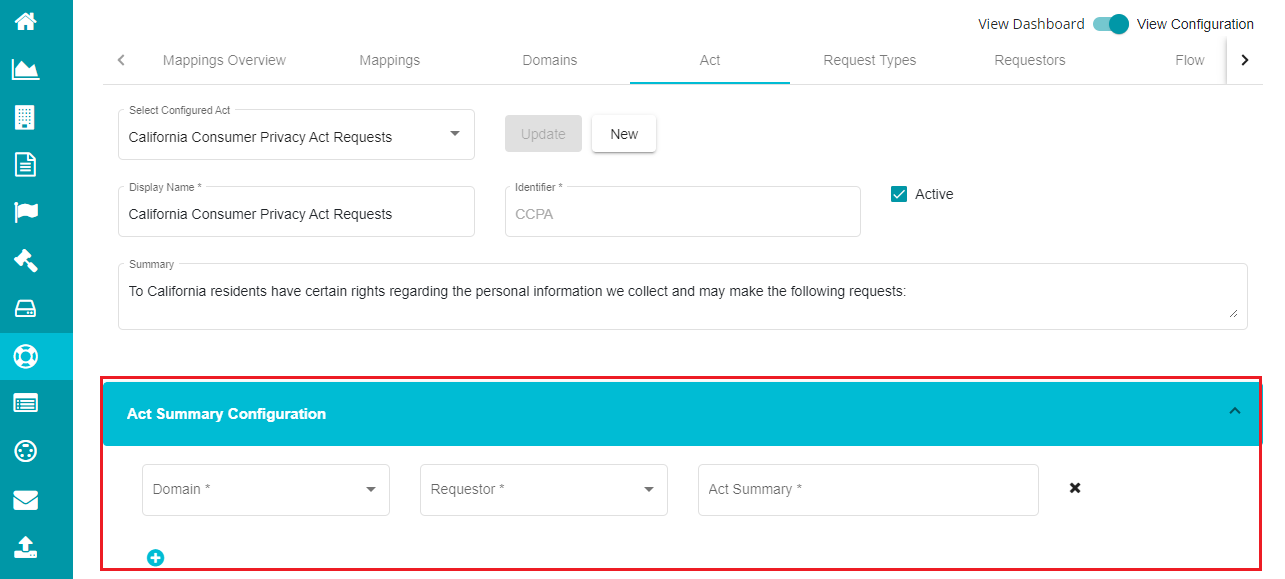
Select the required domain from the drop-down menu under the 'Domain' tab.
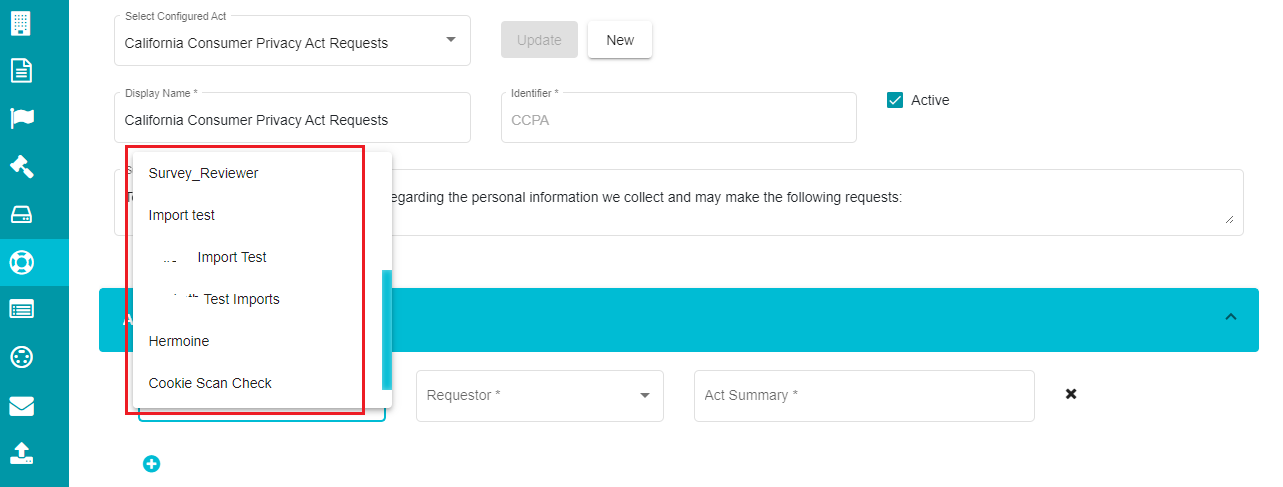
Select the required requestor type from the 'Requestor' drop-down menu.
Note: You can also differentiate the Act's Summary based on the requestor types that you create for the tenant.

Here, you need to enter the text to be displayed as the summary for the chosen region on the Welcome Screen. As in, you can define different summaries for different domains configured with the same region.
- Enter the text in the 'Act Summary' dialog box.
If you wish to differentiate the display name for the Act in such cases, you can use the 'Act Display Name Configuration' option.
For the Display Name Configuration,
Click the
on the 'Act Display Name Configuration' tab.
Click the
button on the screen.

Select the required domain from the drop-down menu under the 'Domain' tab.

Select the requestor type from the 'Requestor' drop-down menu.

Note: You can also differentiate the Act's Display Name for different requestor types that you define for the selected domain.
- Enter the name in the 'Act Display Name' dialog box.
Note: This way, you can use the same Act/Region for multiple domains with different display names to avoid confusion.
The Act Summary Configuration and Act Display Name Configuration are now defined for the domain.
Mark the
button after entering the required details.
Click the 'Create' button present next to the Select Configured Act dialog box.
A new region/act is created, and you need to map the same to the domain.
Mapping the Act/Region
Go to the DSAR Configuration homepage.
Click the 'Mappings' Tab.
Click the drop-down menu under the 'Acts' tab.
You can find the created region in the drop-down menu along with some pre-defined regions.
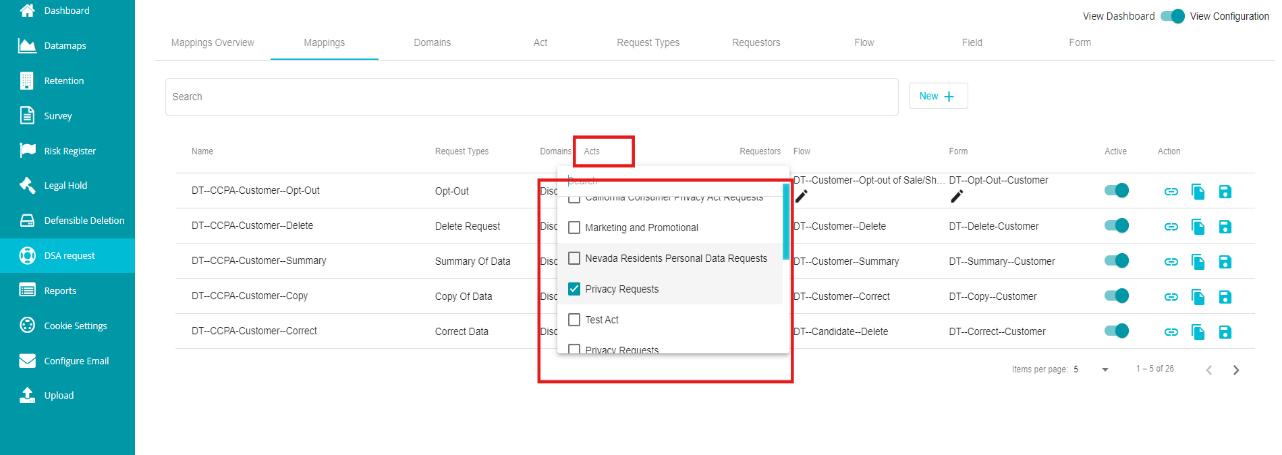
Select the new region from the menu.
Check the 'Active' icon after making the selection.
Tap the 'Update' icon.